To all those who saw the table Matthew and I pulled from the trash and remade with some flash here is the how we did it with how we would do it next time. You learn from your mistakes and it was a project we enjoyed working on together.
We spent a little time each day letting layers dry before we added another layer. We worked on it from Friday to Thursday and then let it "cure" before the big party.
So without any further ado....here is our table.
Sorry I did not get a before picture but let's just say, the base was in good enough shape but the top was not. Just picture warped, rough and mildewed. We sanded the top until it stopped looking all mildewed and damaged with a fine grit sand paper. It just took a little elbow grease. And then we were ready to begin.
Day 1:
- We purchased 2 cans white spray paint, (primer/satin or gloss finish but it will not matter.)
- 1 can red spray paint and
- 1 can blue spray paint.
- You will also, need a 2 part epoxy pour finish. (Just for your reference I used Enviro Tex Lite Acabado Brillante Pour-On High Gloss Finish I purchased at Hobby Lobby and I used the 32 ounce package for the 38" round table top.)
- Painters tape
- Brown paper (typically used for drop cloth but we will use it to block of areas off the table to protect it from the other color sprays.
- Plastic drop cloth for under the table
- Spray glitter (I think it was something like angel dust glitter.)
- 2 disposable containers
- Popsicle sticks
We sprayed the top of the table several times with the white spray paint. until it did not look streaky. Let it dry overnight.
Day 2:
Using painters tape we taped off stripes running across the table at random and but did not run any stripes across each other at this point. Once we decided where all our stripes were going we began covering the white of the table with brown paper Be diligent about taping layers of the paper down because when you spray it is going to blow the paper upward allowing over-spray to get in and and get on the white. Spray red stripes.(Resist taping over any fresh paint because you THINK it is dry enough. It will not be. The tape is going to pull it off now. You will do more stripes tomorrow.)
 Day 3:
More stripes but today,when taping a stripe if you should overlap yesterday's stripes you will want tape them alternating one taped, next not taped. We are going to weave our stripes together. Once you do one you'll see how it works and then you just keep playing with the stripes. Now, don't get too caught up in perfection. This is no time to be perfect. Use the blue spray paints today. If you want more red stripes do more as needed.
Cut out a large star shape out of the middle of brown paper. You will be using the negative of the star not the star itself. Tape down the negative image of the star on the table somewhere. Tape close to the brown paper edge carefully so you have a nice star shape of table exposed. Spray it with red paint.
Day 4:

Using spray glitter (I used silver) Spray liberally over the table. Let dry. Now here is where Matthew and I would change what we did. I used the metallic confetti stars in red, white and blue and sprinkled them liberally over the table. BUT when we added the finish the reds and blue colors began to bleed into the finish. Matthew said they looked a little like stars moving. Me? I thought it looked like the stars bled out their color. Check for color fastness before using. The silver stars were perfect. It was just the red and blue that ran. You might try spraying a little polyurethane layer over some of the colored stars and see if that seals them. I have no experience with paper confetti but it might be an option. Be creative. Look on the shelves of the store for something to add to the table or if you want. You might glue family photos or have family members sign the table in various color pens.
Day 5:
The real fun begins. Using an epoxy pour finish. Mix equal parts of each into an container you can throw away. Don't guess on the measurement but be accurate or you will get a sticky mess. Stir it awhile using a Popsicle stick then pour it into a second container and stir again. Don't stir very long. Just get it mixed and then pour onto the table starting in the middle. Allow to seek it's level. If it is not covering very well use the side of a Popsicle stick and drag it over to where it needs to be. (Oh, you may want to add tape around the edge underneath so when it the finish starts to set up in a few hours you can rip the tape off and the drips will come off with the tape.
It will set up in about 4 hours or so for a dry to touch but at total of 36 hours is needed to let it "cure".
Matthew and I found we needed a second coat to make it more level. We did it on Day 6. You may do additional coats if the finish is uneven. If bubbles form, lean over and breath on the bubble before it starts hardening.. Your carbon dioxide will burst the bubbles.
Well, that's it! Only 7 days from trash to flash!
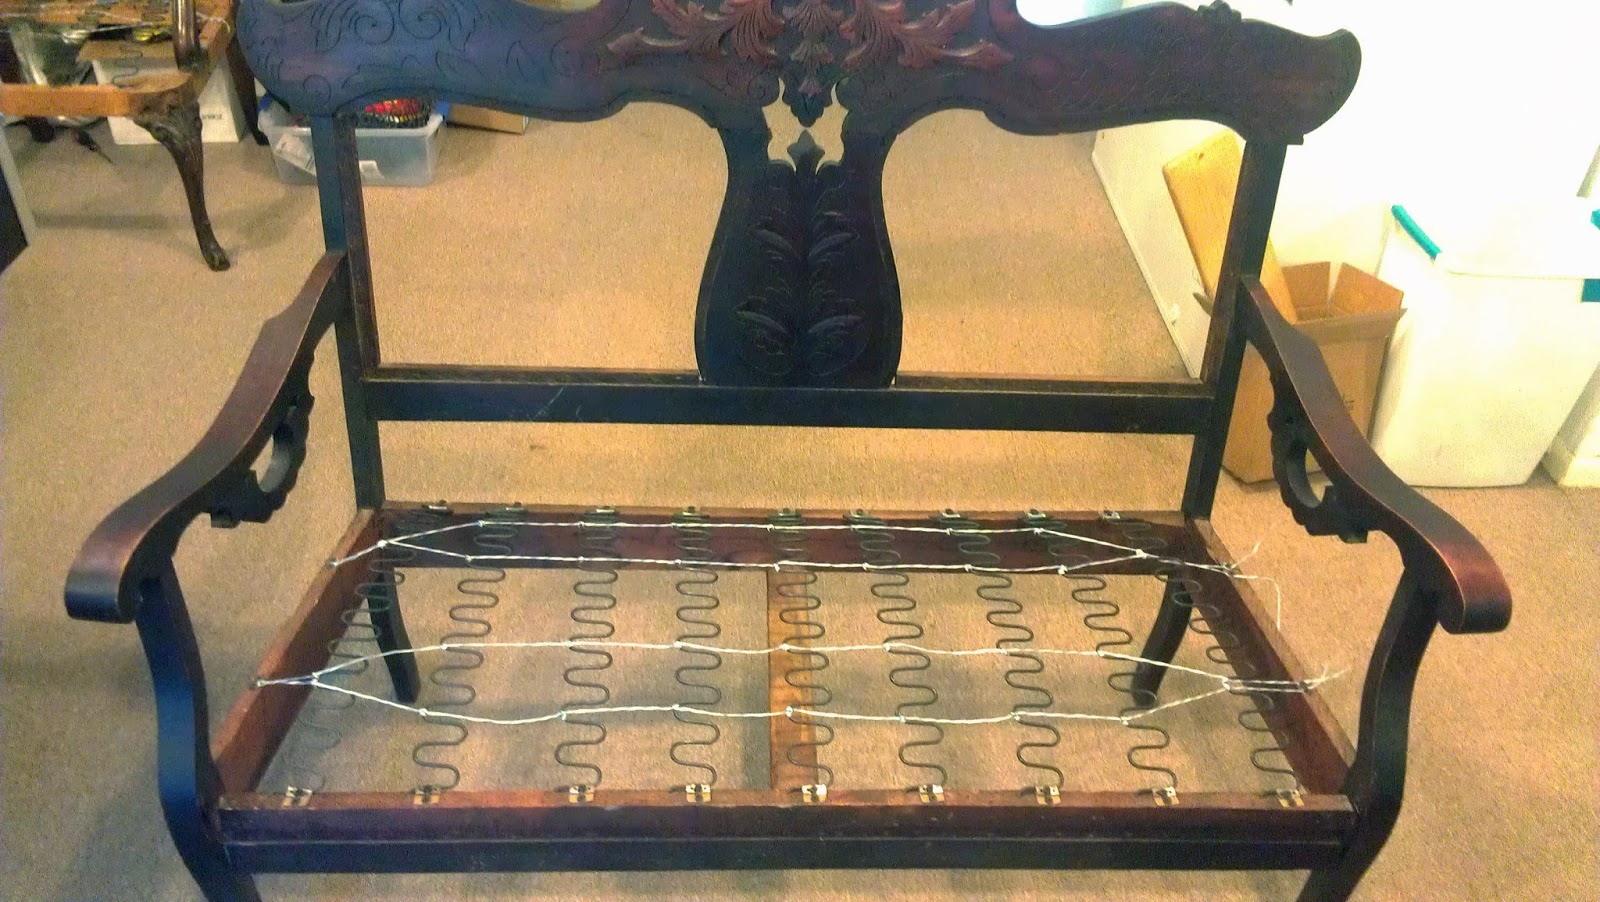
 First off, I took a paper pattern of the seat backs to my Upholstery supplier to get the foam cut to size. At no extra charge to me they cut the foam according to my pattern. I had to go back the following day and pick them up the. Had I known what to do in the beginning I could have saved myself a trip or two and would have been ahead of the game since I now have used up two additional days getting the foam I could have used for installing it.
  I also, picked up more supplies I needed.


